5 STEPS TO CREATE AN AI PRODUCT MINI COMMERCIAL
Introduction
In this article, I’ll show you the workflow we used to create a product mini commercial using artificial intelligence. Everything starts from a key visual (the main concept image) that defines the aesthetic of the ad, and from there we build a short animated sequence that ends in a hero shot (final product shot). The goal isn’t just to generate nice images, but to approach the process like a creative studio would: concept, base visuals, animation, and final result.
Creative Concept
The idea started quite simple: I wanted to create a product ad with a surreal aesthetic that felt fresh and eye-catching. I imagined the product inside a small world filled with glossy inflatable shapes, almost like it was part of a design installation.
From there, we refined the concept until defining a key visual (the main image that sets the aesthetic of the ad): the product centered, surrounded by inflatable objects with glossy materials and soft colors that make everything feel clean yet visually interesting. With that concept clear, the next step was to build the workflow to turn that image into a short animated commercial ending in a hero shot (final product shot).
Step 1 — Refine the concept and prepare the base image
With the general idea defined, the next step was refining the concept using AI. For this, I used ChatGPT as a creative assistant to better define three things: the visual style, the possible scenes for the commercial, and the key visual (base image of the ad).
First, we defined the type of visual universe we wanted to build: a surreal environment with inflatable objects, soft lighting, and a style closer to a design installation than a typical generated image.
After that, we defined the scenes for the mini commercial. The goal was a short but coherent sequence: a simple opening scene, then an expansion of the environment with more inflatable elements, and finally a hero shot (final product shot).
With that clear, the next step was preparing two key elements: a clean product photo to use as a reference and an initial prompt to generate the first image that defines the entire visual style of the ad.
Product reference image

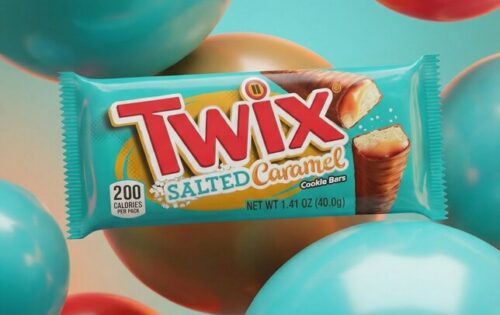
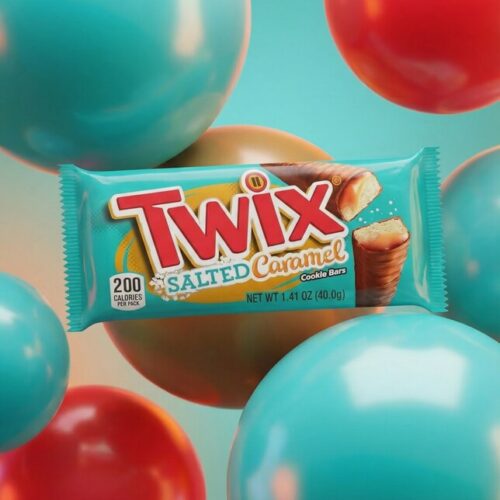
Key Visual (base image)
A close-up, eye-level shot features a single package of Twix Salted Caramel cookie bars as the main subject, positioned centrally. The packaging is a vibrant teal with the iconic Twix logo in red and yellow, and an image of the cookie bar with visible caramel and cookie layers. Surrounding the product are several large, glossy, spherical balloons in teal and red, creating a festive and playful atmosphere. The background is a soft, gradient blend of teal and orange, with subtle lighting that highlights the textures of the balloons and the product.
Step 2 — Design the commercial sequence
Before generating more images, the next step was defining the small story behind the video. Even though the commercial is only a few seconds long, it’s important to plan the sequence so each scene makes visual sense and doesn’t feel like a random set of images.
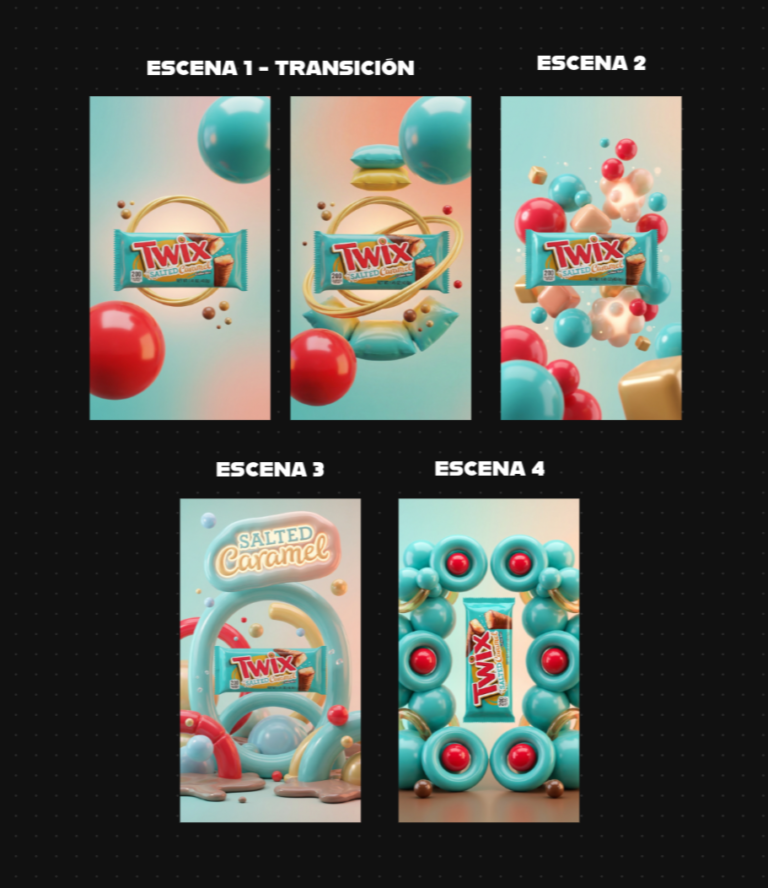
In this case, we defined a simple structure with four moments: an initial reveal (product appearance), a scene where inflatable elements begin moving around it, an expansion of the environment with more shapes, and finally a hero shot (final product shot) with the most complete composition.
Having this sequence clear makes it much easier to generate the right images for each scene and maintain visual consistency.
Step 3 — Generate the images with AI
With the concept defined and the base image created, the next step was generating the different scenes of the commercial using Nano Banana 2, a very effective model for creating consistent images based on prompts and visual references.
This same process can also be done with Nano Banana Pro, and today these models are available on multiple platforms. For example, you can use them directly in Google AI Studio, or through tools that integrate them like Freepik, InVideo, Hedra, and other visual generation platforms.
To maintain product consistency, there’s a key trick: in each generation, you upload both the product image and the base image from the previous step. This helps the model preserve the product’s shape, materials, and branding while creating variations of the environment for each scene.
Step 4 — Convert images into video
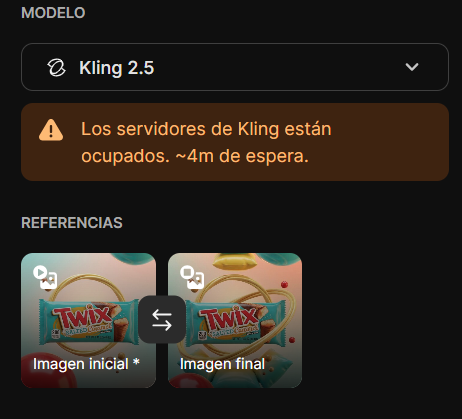
Once the images were ready, the next step was animating them to create the mini commercial. For this, I used Kling 2.5, which is currently one of the most consistent models for generating video from images.
The first and second scenes were combined into a single shot using an AI-generated transition, where the environment starts simple and gradually fills with more inflatable elements. This helps the video feel more natural instead of looking like a hard cut between two images.
For the remaining scenes, I used the initial image as a reference, adding subtle camera movement and gentle environmental animation. This ensures the product stays consistent while the environment evolves slightly between each clip, which is key to making the result feel closer to a real commercial.
Step 5 — Upscale and edit the video
Once the clips were generated, the next step was improving quality and assembling the final commercial. First, I upscaled the videos to 4K to enhance definition. This can be done using tools like Topaz Video AI on desktop or directly in platforms like Adobe Firefly, which also support video upscaling.
Then comes the editing stage. In my case, I used a traditional editor, but you can work with tools like CapCut, After Effects, Premiere, or any editor you’re comfortable with. At this stage, you simply adjust clip timing, organize scenes, and refine the overall pacing.
For music, I used a track from Epidemic Sound, but you can also generate music with AI using tools like ElevenLabs if you want to keep everything within the same creative workflow.
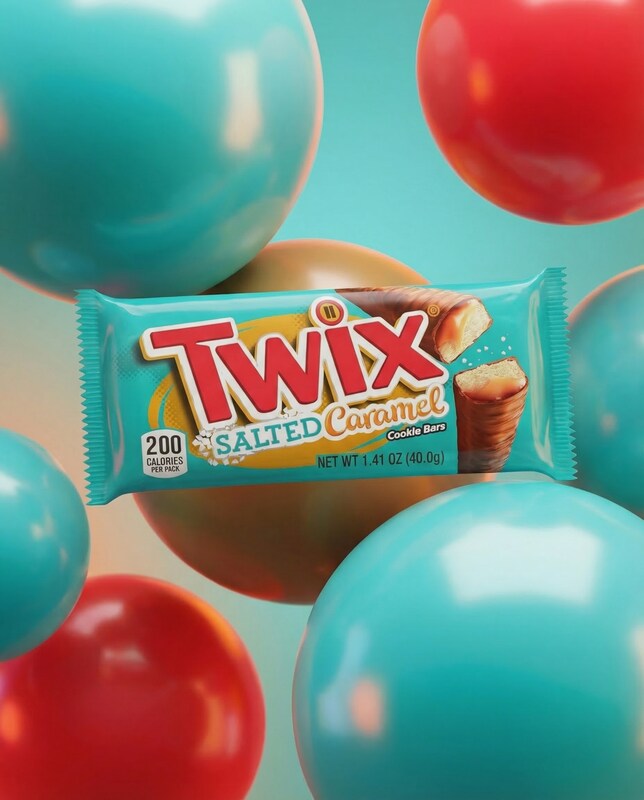
Final Result
The result is a product mini commercial that maintains a surreal yet clean aesthetic, where the product remains clear and recognizable while the inflatable environment builds a small visual world around it. Even though the video lasts only a few seconds, the combination of concept, base visuals, and animation creates something that feels much closer to a real advertisement than a simple AI generation.
What’s interesting about this workflow is that once the visual concept is defined, the same process can easily be repeated for other products or campaigns. By changing the product, colors, or environmental elements, you can generate new variations within the same style and turn it into a full series of commercials.